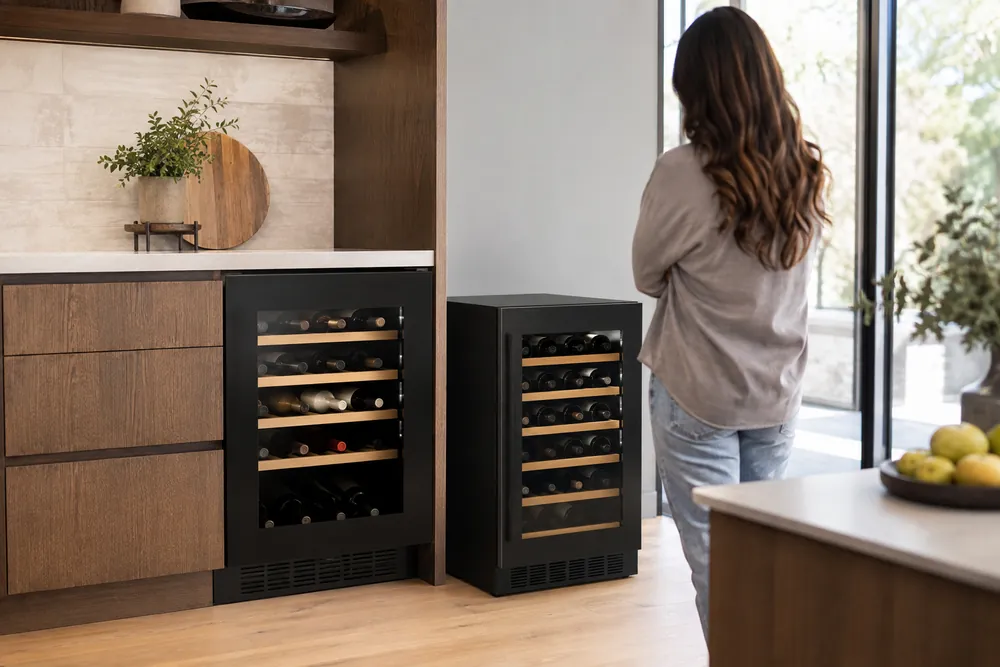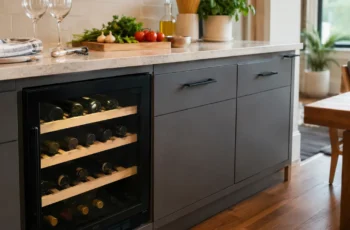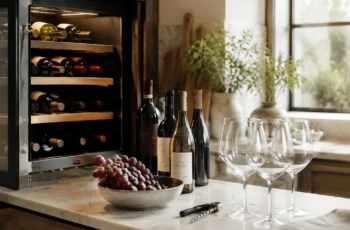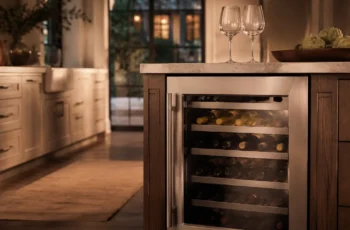
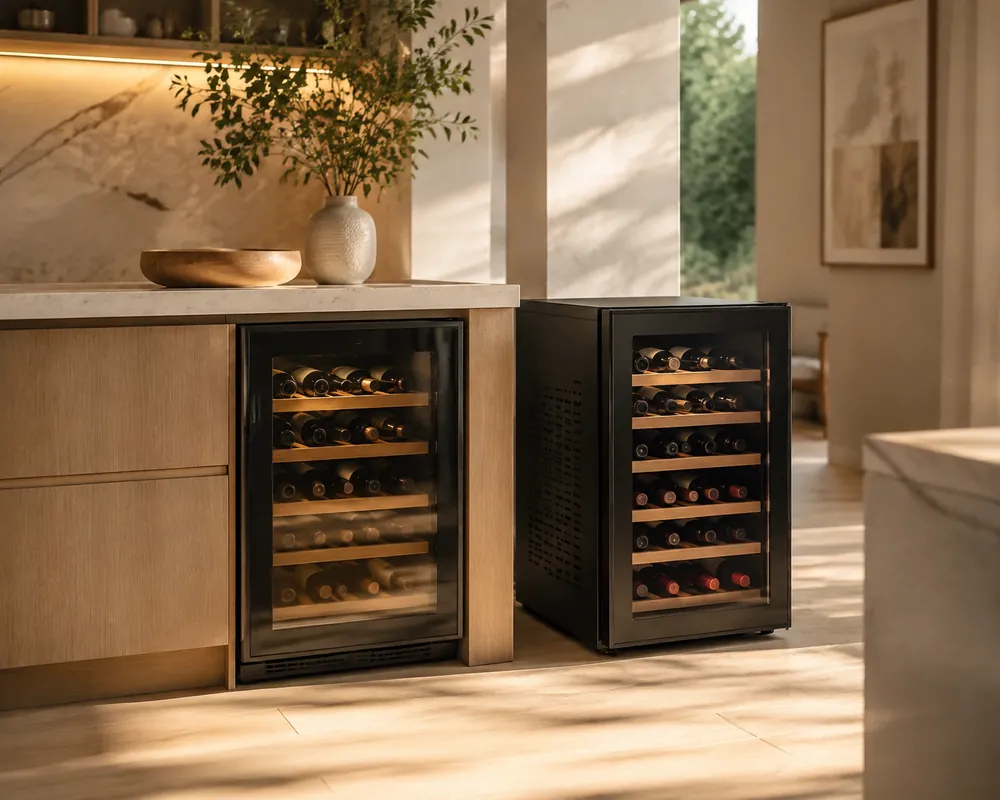
Short version: Built-in wine coolers are designed for under-counter or cabinet installation, while freestanding wine coolers are intended for open placement.
Built-in models usually vent heat from the front and create a cleaner finished look. Freestanding models offer easier relocation and placement flexibility but need clearance around the sides, rear, or top.
Choose based on ventilation, space, and installation plans.
Built-In vs Freestanding Wine Coolers at a Glance
Ventilation and placement determine whether a wine cooler belongs under a counter or in an open area.
Built-in models are made for a finished cabinet run, while freestanding models offer easier placement but need visible breathing room around the cabinet.
The key distinction is not cooling performance alone. It is how each design releases compressor heat, how closely it can sit beside other cabinets, and how carefully the installation opening must match the manufacturer’s instructions.
| Feature | Built-in wine cooler | Freestanding wine cooler |
|---|---|---|
| Best placement | Under counters, islands, wet bars, and cabinet runs | Dining rooms, pantries, basements, and open floor areas |
| Ventilation | Usually front-vented through the lower grille | Often vents through the rear, sides, or top |
| Common opening width | About 15–24 inches, depending on the configuration | Not intended for a tight cabinet opening |
| Typical open-air clearance | Often minimal at the sides when correctly installed | Commonly about 2–6 inches, subject to the manual |
| Temperature range | Commonly about 40–65°F across available zones | Commonly about 40–65°F across available zones |
Choose a built-in unit for a kitchen remodel or any installation requiring a flush, intentional appearance.
Confirm the cutout width, depth, height, door swing, hinge clearance, and front grille position rather than relying only on the advertised product dimensions.
Choose freestanding when relocation matters or cabinetry cannot be modified. Before purchase, reserve the required clearance on every ventilated side and avoid placing the unit where surrounding panels could trap heat.
How Each Style Vents Heat
Heat removal determines whether a wine cooler can sit inside cabinetry or needs open space around its cabinet.
Both styles use a compressor or thermoelectric system to cool the wine compartment, but they release collected heat through different parts of the appliance.
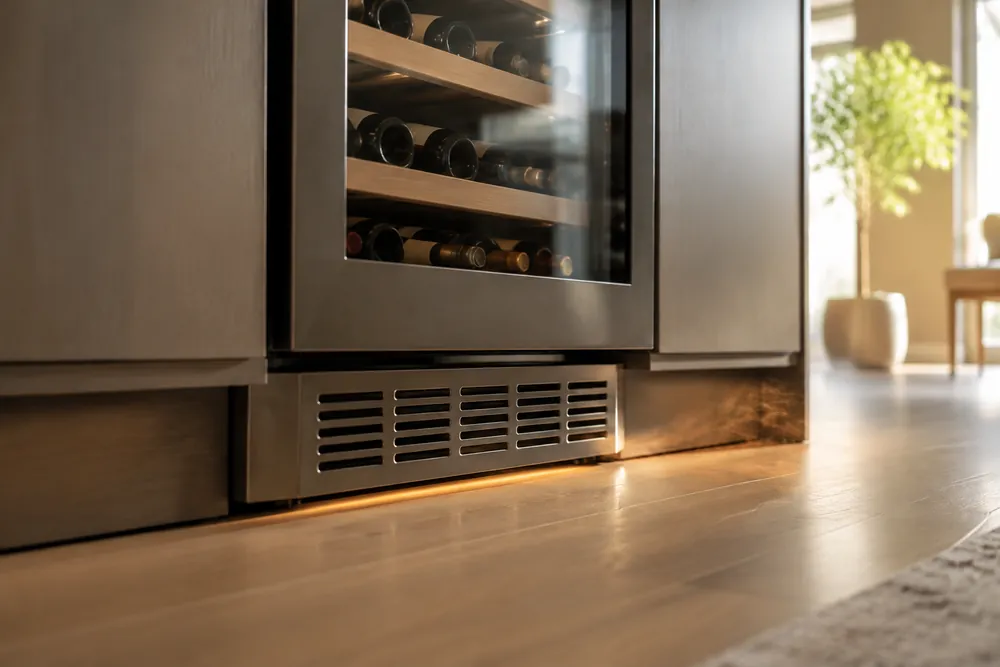
Built-in wine coolers usually vent through a grille at the front, often near the bottom toe-kick.
This front-vented design allows the unit to sit beneath a counter or between base cabinets without directing warm air into the surrounding cabinet structure.
Freestanding wine coolers commonly release heat through the rear, sides, or top. They need the air gap stated in the installation guide so warm air can escape and cooler air can reach the condenser.
| Style | Common placement | Typical clearance guidance |
|---|---|---|
| Built-in | Under-counter or enclosed cabinet opening | Front grille must remain unobstructed; surrounding gaps often range from 0–2 inches, depending on the guide |
| Freestanding | Open floor, pantry, dining area, or basement | Rear or side clearance commonly falls around 2–4 inches, with extra space above some units |
Ventilation also affects efficiency and temperature stability. Wine storage settings commonly span about 45–65°F, so a cooler working against trapped heat may run longer and struggle to maintain its selected zone.
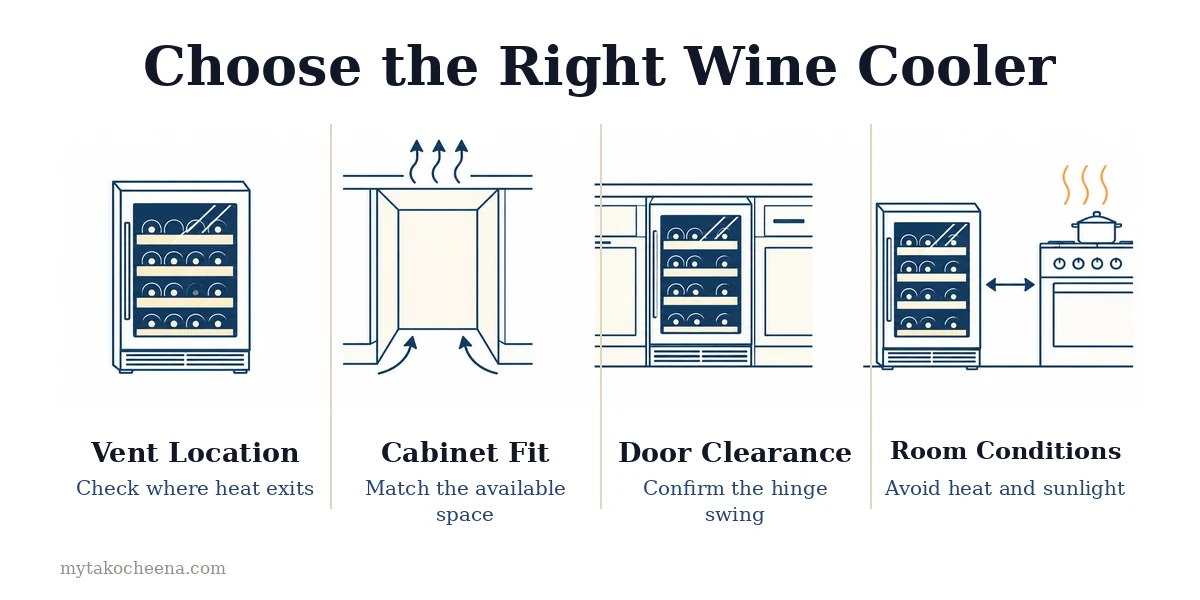
Before buying, check the installation diagram rather than relying on the product label. Confirm the vent location, required clearances, door swing, and whether a replacement grille or trim piece could block airflow.
Where Each Wine Cooler Fits Best
Installation space, ventilation, and the desired finished look determine which wine cooler fits best.
Built-in models suit planned cabinetry, while freestanding units offer greater placement flexibility when open airflow is available around the cabinet.
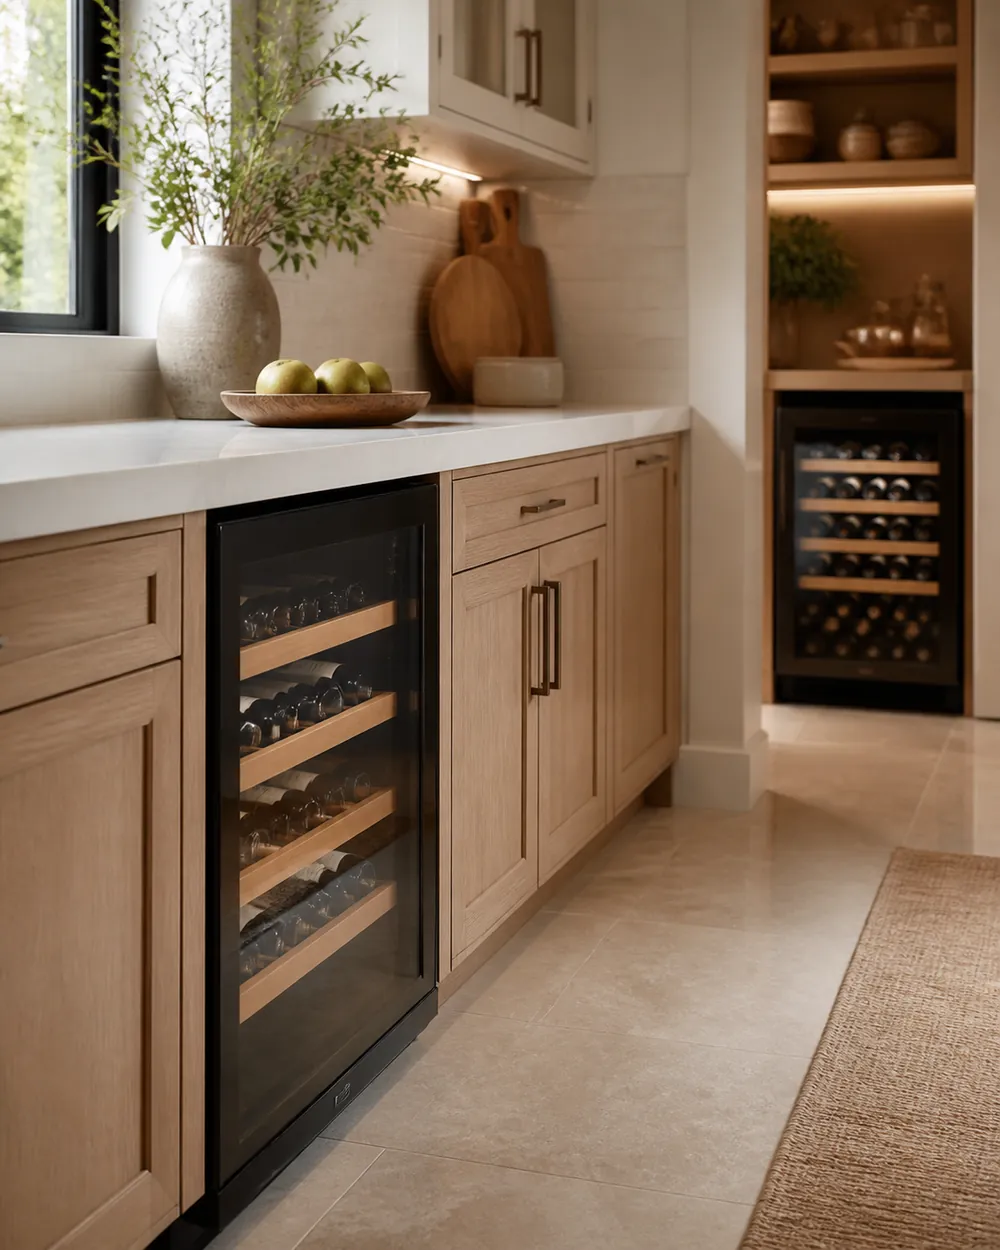
A built-in wine cooler works well beneath a countertop, inside a kitchen island, or within a wet-bar cabinet run.
Its front-venting design directs warm air through the lower grille, reducing the risk of heat buildup when the sides and rear are surrounded by cabinetry.
Freestanding wine coolers are better suited to dining rooms, pantries, basements, and open kitchen areas.
They commonly release heat from the rear, sides, or top, so placing one tightly against a wall or between cabinets can restrict airflow and reduce efficiency.
| Consideration | Built-in | Freestanding |
|---|---|---|
| Common installation | Under-counter or cabinet opening | Open floor or movable storage area |
| Typical clearance guidance | About 0–2 inches at the sides when front-vented | About 2–6 inches around ventilation areas |
| Common capacity band | About 20–50 bottles | About 12–80 bottles |
| Primary planning concern | Cutout size, hinge swing, and flush alignment | Airflow, visibility, and convenient access |
During a remodel, built-in installation usually creates the more integrated appearance.
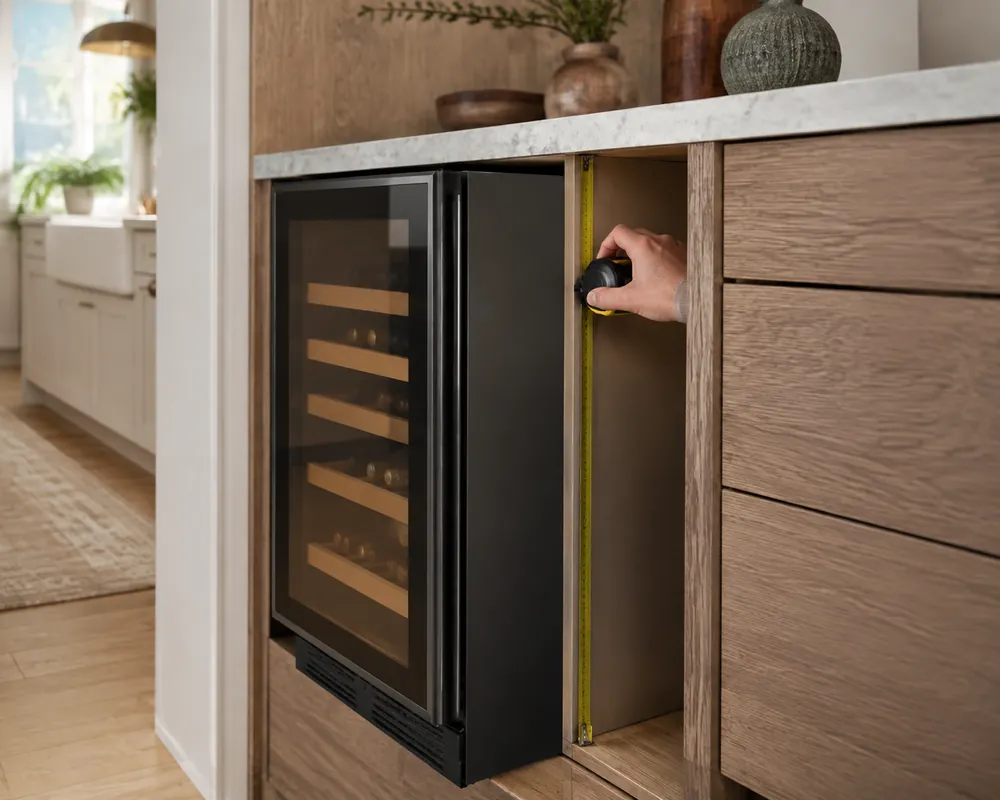
Measure the cabinet opening rather than relying only on the product’s outside dimensions, and verify door swing, handle projection, leveling space, and the location of the front grille.
Freestanding placement requires less cabinet work and makes relocation easier, which can suit renters or households that may rearrange their storage.
It still needs a stable, level surface and the clearances listed in the installation guide.
- Choose built-in for a finished under-counter or cabinet-integrated look.
- Choose freestanding for flexible placement and simpler relocation.
- Check ventilation direction before treating either style as interchangeable.
- Compare the installation manual with the available opening before ordering.
Installation, Clearance, and Cabinet Planning
Installation space determines whether a built-in or freestanding wine cooler will perform reliably. Match the unit’s ventilation design, opening dimensions, door swing, and service access before choosing a finish or storage capacity.
Built-in models are intended for under-counter openings, kitchen islands, wet bars, and cabinet runs.
Their front-vented grille releases compressor heat into the room, allowing the sides and rear to sit close to surrounding cabinetry when the installation guide permits it.
Freestanding models need more breathing room because their heat may leave through the rear, sides, top, or a combination of these areas.
Placing one tightly between cabinets can restrict airflow, increase operating strain, and make the cooler less effective.
| Planning detail | Typical category range | Why it matters |
|---|---|---|
| Under-counter opening width | About 15–24 inches | Determines whether the cabinet opening matches the cooler |
| Freestanding clearance | About 2–6 inches around vented sides or rear | Creates room for heat release and service access |
| Storage temperature range | About 40–65°F | Helps match the cooler to red, white, or mixed wine storage |
Use the installation manual rather than the product-page summary to confirm the required cutout. Outer dimensions may exclude the hinge, handle, leveling feet, door trim, or ventilation grille, all of which can affect the finished fit.
Plan the door swing before securing cabinets or adjacent appliances. A reversible hinge can expand placement options, but the door still needs clearance to open fully and the shelves may require additional space for removal.
- Measure the opening at several points because walls and cabinets may not be perfectly square.
- Leave access to the plug, controls, drain area, and condenser service points.
- Keep freestanding units away from heat sources and avoid blocking their ventilation path.
- Confirm whether the cabinet floor can support the loaded cooler without flexing.
Built-in installation creates a cleaner, more integrated appearance but demands accurate planning. Freestanding placement is easier to change, yet visible side gaps and airflow requirements remain part of the design.
Temperature Stability, Noise, and Everyday Use
Temperature stability depends on airflow, insulation, thermostat control, and how often the door opens.
Built-in and freestanding wine coolers can both protect wine effectively, but the installation environment influences compressor cycling, sound, and energy use.
Wine is commonly stored across roughly 45–65°F, depending on the style and serving goal. A cooler placed beside an oven, radiator, sunny window, or poorly ventilated cabinet may work harder to maintain its selected setting.
| Consideration | Built-in | Freestanding |
| Temperature consistency | Strong when front ventilation remains unobstructed | Strong with open airflow around the cabinet |
| Noise perception | Cabinetry may soften sound, but vibration can transfer through panels | Compressor sounds are more exposed in open rooms |
| Typical clearance planning | Follow the cutout and front-grille requirements | Often needs roughly 2–4 inches around ventilation areas |
Noise matters most in open-plan kitchens, dining areas, and bedrooms.
A freestanding cooler can be easier to reposition away from seating, while a built-in unit may look quieter because surrounding cabinetry hides it; neither design guarantees silent operation.
For daily use, prioritize stable shelves, a door seal that closes cleanly, accessible controls, and lighting that does not require repeated door opening.
Check the installation guide for clearance, leveling, and ventilation instructions before choosing the location.
For a real-world check, measure the intended opening at its narrowest points: width between cabinets, height beneath the counter, and depth from the front edge to the wall.
Record several measurements because floors, trim, and cabinet boxes are not always perfectly square.
Measure the path to the installation spot as well. Doorways, hallway turns, stair landings, and refrigerator doors can limit delivery even when the final opening is large enough.
Include the cooler’s packaging dimensions if the retailer provides them, not only the appliance dimensions.
Depth requires more than matching the cabinet line. Leave room for the plug, outlet, and any required rear clearance without forcing the cabinet forward.
Check whether the door can open fully and whether its handle will strike an adjacent cabinet, wall, or appliance.
For a built-in installation, treat the manufacturer’s cutout dimensions as minimum requirements rather than targets to shrink.
Confirm where the front grille sits and keep that area clear of rugs, cabinet lips, decorative panels, or anything that could restrict intake and exhaust.
For a freestanding unit, mark the footprint on the floor with painter’s tape.
This shows how much walking space disappears when the door opens and whether the cooler will block a drawer, pantry door, heating vent, or frequently used work area.
Check the outlet location before choosing orientation. An outlet directly behind the cabinet may become difficult to reach, while an extension cord can create a trip hazard and may conflict with installation guidance.
Plan access to the plug without relying on moving a full cooler.
Use a level to inspect the floor, especially near older cabinetry or tile transitions.
A stable, properly adjusted installation helps the door close consistently and prevents bottles or shelves from sitting at an awkward angle during everyday loading and unloading.
Finally, stand where people usually sit or work and listen to the room’s background sound. A cooler that seems unobtrusive near a wall may feel more noticeable beside a dining table.
That observation can determine whether a flexible freestanding placement or integrated installation fits better.
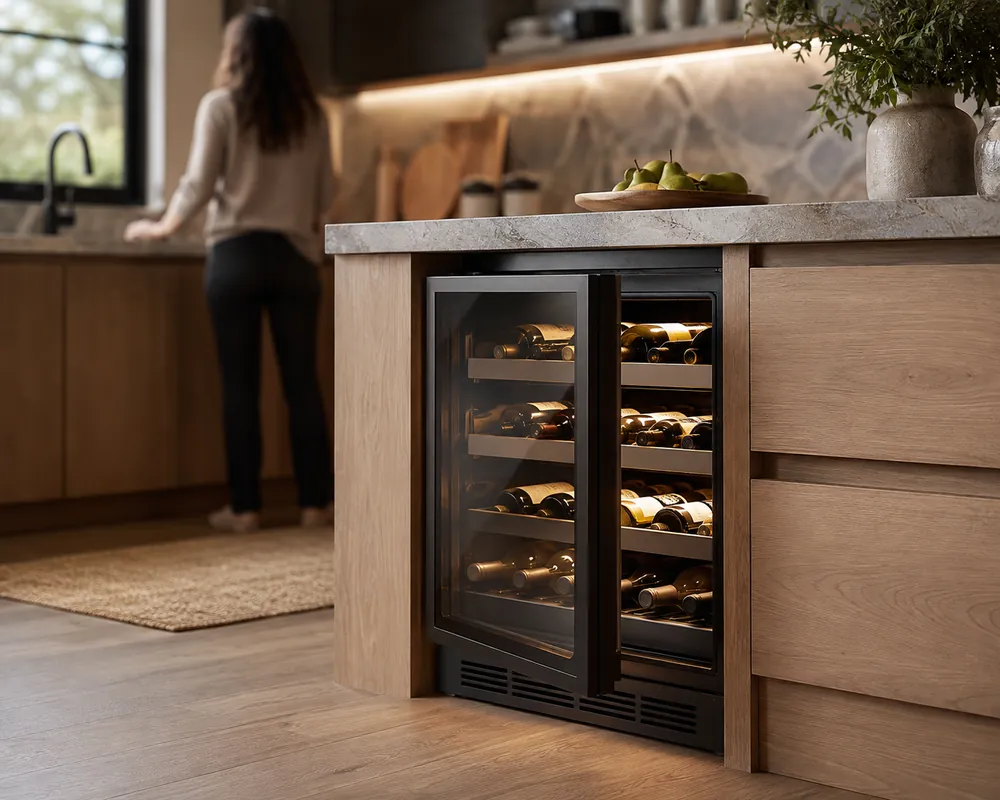
Costs, Repairs, and Long-Term Flexibility
Purchase cost is only part of the decision; installation work, service access, and future placement can change the total value.
Built-in wine coolers often cost more to fit because cabinetry, ventilation, and door alignment must be planned together.
| Planning factor | Typical category range | Why it matters |
|---|---|---|
| Cabinet opening width | 15–24 inches | Determines whether a replacement fits without cabinet changes |
| Rear or side clearance | 2–6 inches | Allows heat to escape from freestanding units |
| Storage temperature | 40–65°F | Shows whether the cooler suits intended wine styles |
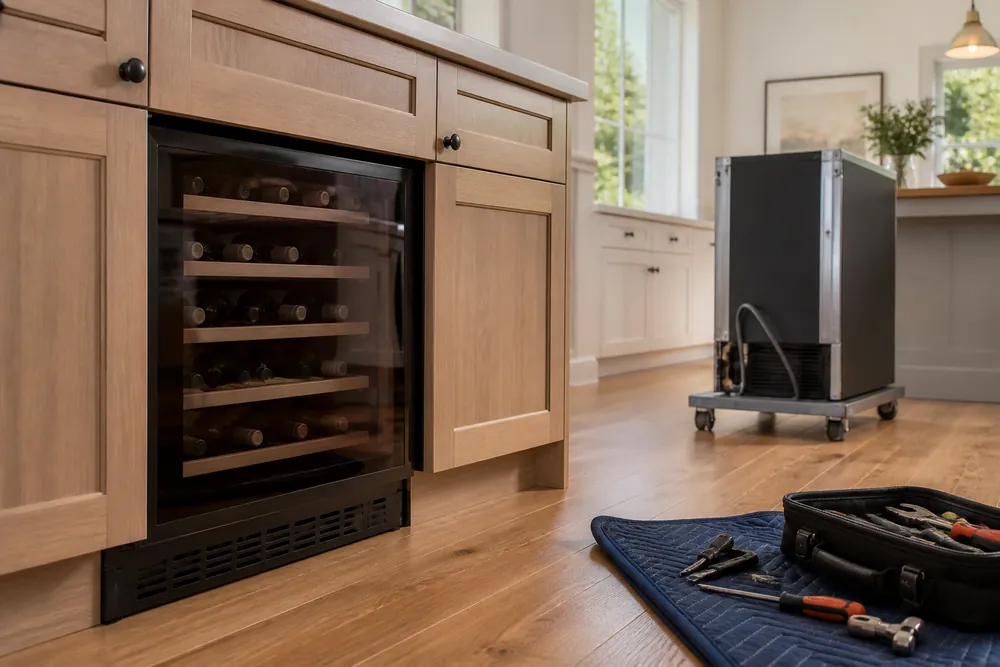
A built-in installation can produce a cleaner appearance and protect the appliance from accidental bumps, but repairs may require removing trim or sliding the unit out of a tight opening.
Confirm that the service path remains accessible after countertops, doors, and adjacent appliances are installed.
Freestanding models generally reduce cabinetry labor and make replacement easier. Their flexibility has a trade-off: moving the cooler may require rechecking airflow, floor level, door clearance, and access to the electrical outlet.
- For remodels: prioritize a front-vented design with documented cutout dimensions.
- For rentals or changing layouts: choose a freestanding unit with manageable weight and accessible controls.
- For long-term ownership: review warranty coverage, replacement parts, hinge reversibility, and reported owner repair issues.
Before buying, compare the installation manual with the available space rather than relying on marketing dimensions.
A slightly higher purchase price can be worthwhile if it prevents cabinet modifications or difficult service calls later.
What Owners Change After the First Month
Recurring owner reports point to placement, airflow, and shelf usability as the changes that matter after the first month.
Manufacturer documentation explains why: a cooler that fits the opening can still perform poorly when its vent is blocked or its door cannot open fully.
The complaint that returns most often is noise or warmth around the cabinet, especially when a freestanding unit is placed too close to a wall.
Owners commonly move it into a more open position, while built-in buyers revisit the toe-kick grille and confirm that cabinetry does not obstruct front ventilation.
What owners adjust first
- Location: Freestanding owners trade visual neatness for breathing room. Built-in owners check the published cutout rather than relying on the cooler’s exterior dimensions.
- Temperature: Owners often raise or lower the setting after seeing how their preferred reds and whites behave. Manufacturer guidance commonly separates serving temperatures from long-term storage recommendations.
- Loading: Reports frequently mention rearranging shelves for wider bottles. A full cabinet can also reduce convenient access, so nominal capacity does not always equal practical capacity.
- Door clearance: Hinge direction and handle projection become more noticeable once the appliance sits beside a cabinet, island, or walkway.
| Check | Common range or requirement | Why it matters |
|---|---|---|
| Wine storage temperature | 45–65°F | Supports different serving and storage preferences |
| Freestanding side or rear clearance | 2–4 inches | Allows heat to escape safely |
| Common compact capacity band | 12–50 bottles | Shows why shelf layout matters as much as capacity |
What holds up is usually the basic cooling function, door seal, and cabinet finish when installation follows the manual.
Early failures reported by owners more often involve fans, controls, rattling shelves, or inconsistent temperatures than cosmetic wear.
Before keeping the unit in its final position, compare owner reports with the installation guide.
Recheck ventilation, bottle fit, hinge clearance, and temperature recovery; these details reveal whether the appliance suits the room better than appearance alone.
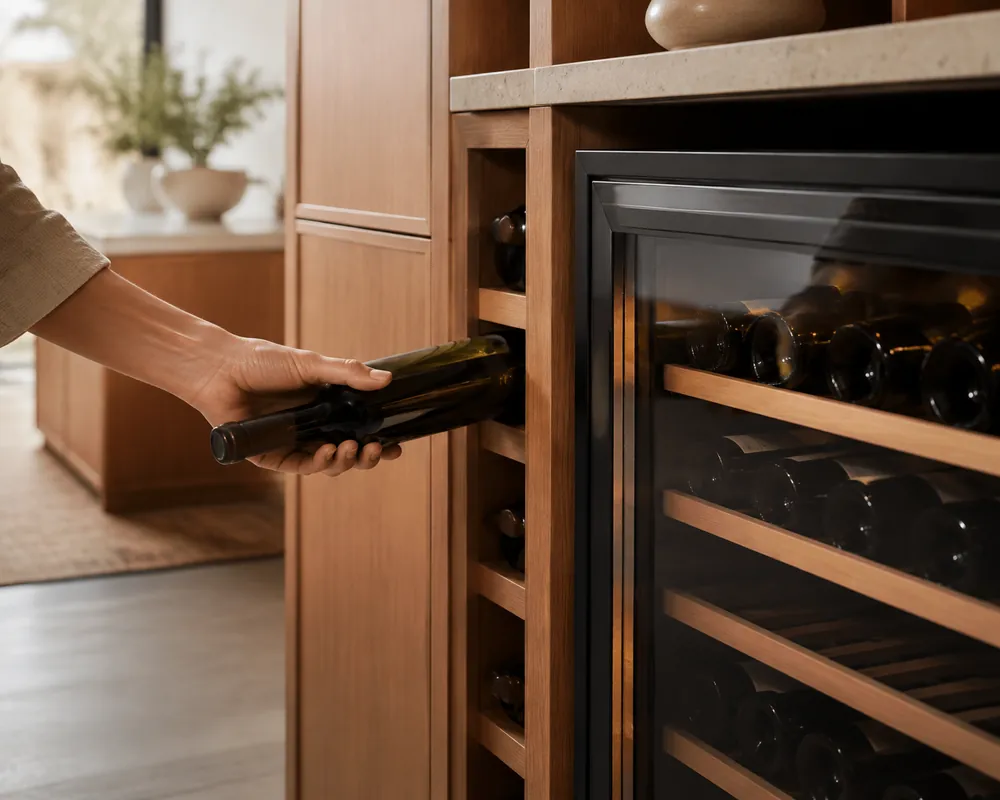
What Shoppers Ask Before Ordering
Installation space, ventilation, temperature control, and door clearance determine whether a wine cooler will work after delivery.
These questions help shoppers compare built-in and freestanding designs before ordering, especially when the cooler must fit beside cabinetry or in a finished living area.
Can I use a freestanding wine cooler under a counter?
Usually, no. Freestanding models often release heat through the rear, sides, or top, so enclosing one can reduce performance and shorten compressor life.
Use a freestanding unit under a counter only when the manufacturer specifically approves enclosed installation and provides the required airflow instructions.
Are built-in wine coolers better for kitchen cabinets?
Built-in wine coolers are generally the safer choice for kitchens because front ventilation allows the unit to exhaust heat into the room rather than into the cabinet cavity.
Measure the opening, finished trim, hinge side, and door swing. Product dimensions alone may not describe the required cutout.
| Planning detail | Typical category range |
| Common cabinet widths | 15–24 inches |
| Typical rear or side clearance for freestanding units | 2–6 inches |
| Common storage capacity | 12–50 bottles |
How much space does a freestanding wine cooler need?
Leave the clearances listed in the installation manual on every ventilated side. Extra space can help heat escape, but it also makes the appliance more visible and may reduce usable floor area.
Do not push the cooler tightly against a wall or cabinet unless the specifications permit that placement.
What temperature range should a wine cooler have?
Look for a temperature range that suits the wines you buy, rather than choosing by bottle count alone. Dual-zone models can separate serving preferences, while single-zone models are simpler and often easier to place.
| Use case | Typical range |
| General wine storage | 45–65°F |
| Cooler serving zone | 40–50°F |
| Warmer serving zone | 50–65°F |
Is a built-in wine cooler harder to install?
It usually requires more planning because the opening, ventilation path, flooring, outlet, and door swing must align. Cabinet modifications may be needed if the space was not designed for an appliance.
Freestanding installation is simpler, but correct clearance remains essential.
Which wine cooler is better for a renter?
A freestanding wine cooler usually offers greater flexibility because it can move with you and does not require permanent cabinet changes. Choose a location with stable flooring, a suitable outlet, and open airflow.
What should I check before ordering a wine cooler?
- Confirm the installation type and vent location.
- Measure width, height, depth, and door-swing space.
- Check required clearances and outlet placement.
- Verify whether the shelves fit your bottle shapes.
- Read the installation manual, not only the product summary.