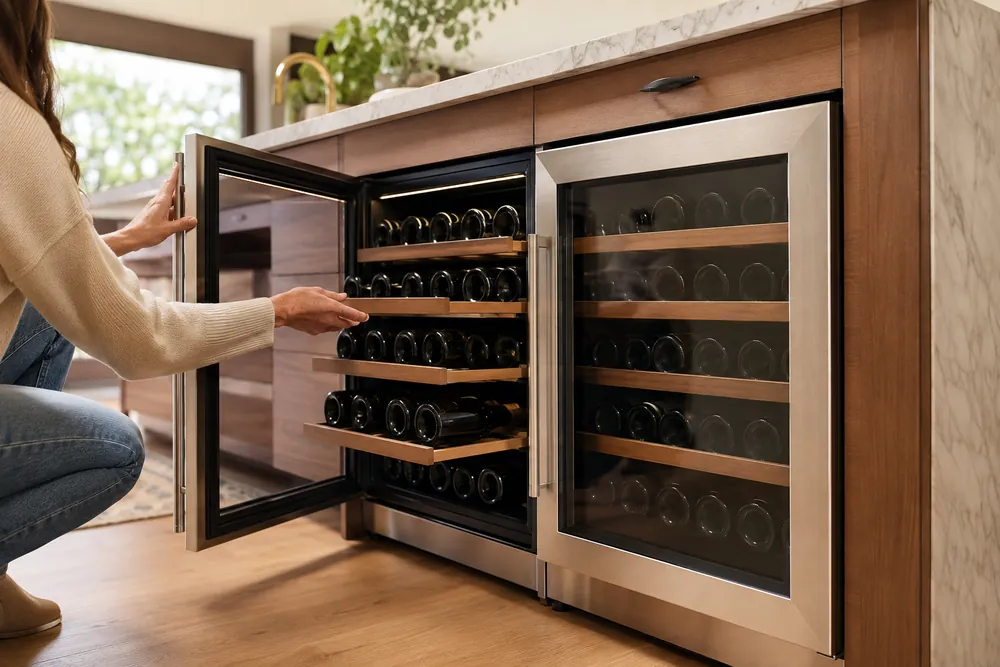
TL;DR: Single-zone wine coolers suit collections that favor one storage temperature, while dual-zone models suit households that regularly keep reds and whites ready to serve.
Single-zone designs are simpler and often easier to organize. Dual-zone designs offer more serving flexibility but divide cabinet space and add controls. Your bottle mix, habits, and available kitchen space should determine the choice.
Single-Zone vs Dual-Zone Wine Coolers at a Glance
Single-zone and dual-zone wine coolers solve different storage problems.
A single-zone cabinet keeps every bottle at one setting, while a dual-zone cabinet separates the interior so different wines can be stored or served at different temperatures.
The better choice depends on your bottle mix, serving routine, kitchen space, and tolerance for extra controls.
Neither layout is automatically superior; the useful question is whether temperature flexibility justifies divided cabinet space and a more involved control system.
| Feature | Single-zone cooler | Dual-zone cooler |
| Temperature layout | One shared setting, commonly about 45–65°F | Separate settings, commonly about 40–55°F and 50–65°F |
| Common capacity bands | About 12–24 bottles or 28–50 bottles | About 18–36 bottles or 40–60 bottles, divided between zones |
| Best match | One main wine style or long-term holding | Mixed reds, whites, and serving-ready bottles |
| Cabinet planning | More consistent shelf space | Zone sizes and shelf layouts may vary |
| Main trade-off | Simpler operation with less flexibility | More flexibility with less uninterrupted capacity |
Single-zone models suit collections centered on reds, whites, or cellar-style storage. They also make sense when bottles are opened gradually and serving temperature can be adjusted after removal.
Dual-zone models are more useful for households that regularly pour both reds and whites.
One area can hold cooler white-wine settings while the other keeps reds closer to a warmer serving range, reducing last-minute chilling or warming.
Check shelf spacing rather than relying only on the advertised bottle count. Champagne, Pinot Noir, and tall Riesling bottles can occupy more room, making a split cabinet feel tighter than its headline capacity suggests.
- Choose single-zone for simpler storage and steadier shelf planning.
- Choose dual-zone for a mixed collection served frequently.
- Compare controls and clearances before selecting a built-in kitchen installation.
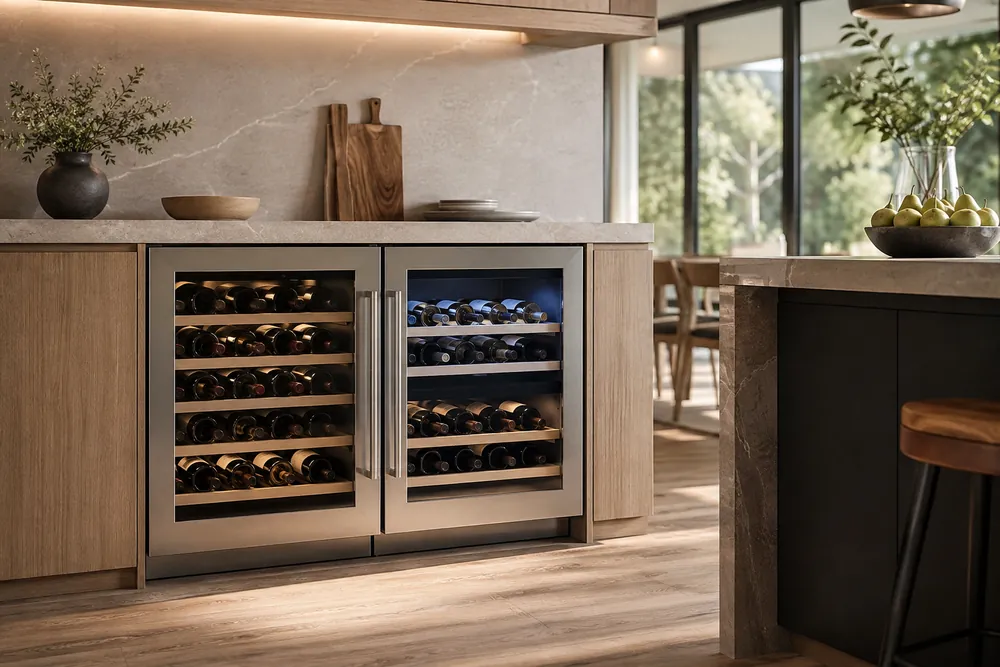
How Temperature Zones Affect Wine Storage
Temperature zones determine whether one wine cooler holds every bottle at the same setting or separates bottles by serving preference.
A single-zone cabinet creates a consistent environment for a focused collection, while a dual-zone cabinet lets reds, whites, and sparkling wines occupy different temperature areas.
For long-term storage, consistency usually matters more than matching each wine to its ideal serving temperature.
A single-zone cooler can therefore suit buyers who mainly collect one style, plan to store bottles for months, or prefer fewer controls and less shelf division.
Storage and Serving Temperature Differences
| Wine or use | Common temperature range | Useful zone choice |
| General cellar-style storage | 45–58°F | Single zone |
| Whites and rosés ready to serve | 40–50°F | Cooler dual zone |
| Reds ready to serve | 55–65°F | Warmer dual zone |
| Sparkling wine service | 38–48°F | Cooler zone or separate chilling |
Dual-zone storage becomes more useful when bottles move from storage to the table frequently.
Keeping whites cooler and reds warmer reduces preparation time, but the benefit depends on actually maintaining both categories in meaningful quantities.
Zone separation also changes usable capacity. A cabinet advertised for a broad bottle count may divide space unevenly, leaving one compartment better for everyday bottles and the other less practical for wide or tall shapes.
| Planning factor | Typical category range | Practical effect |
| Compact countertop or under-counter units | 12–50 bottles | Limited room for mixed bottle shapes |
| Larger freestanding cabinets | 50–150 bottles | More flexible collection planning |
| Recommended installation clearance | 1–3 inches, depending on design | Confirm ventilation and door movement |
Check shelf spacing before trusting capacity claims, especially for Champagne, Pinot Noir, and tall Riesling bottles.
Single-zone layouts often make shelf planning easier, whereas dual-zone designs may sacrifice flexibility for independent controls.
- Choose single-zone for consistent storage, one dominant wine style, or simpler operation.
- Choose dual-zone for regular red-and-white service and faster access to ready-to-pour bottles.
- Compare controls and layout because wider temperature separation can reduce space in each compartment.
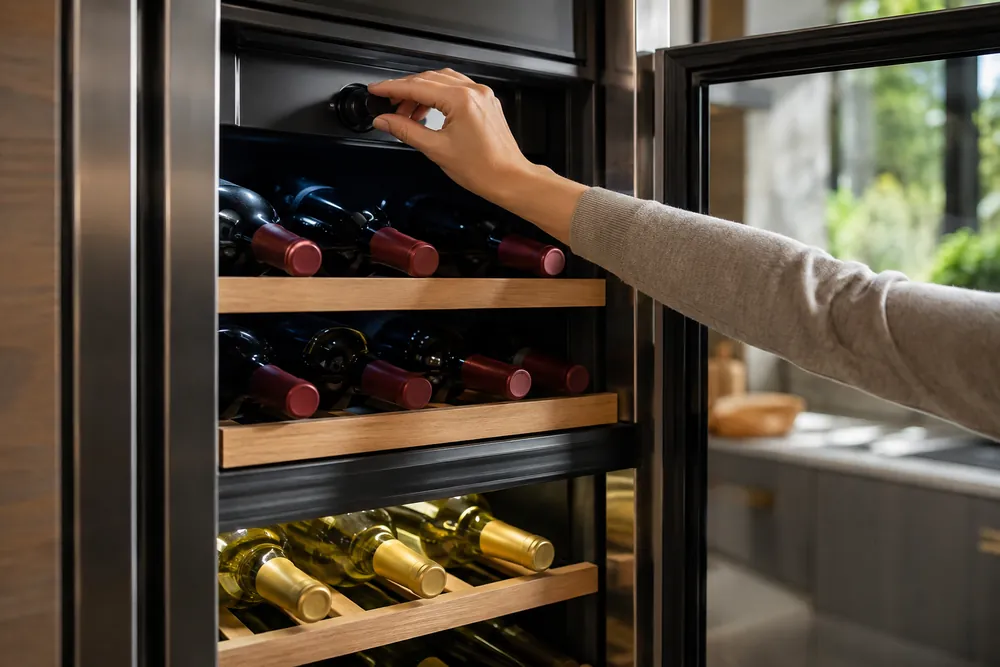
When a Single-Zone Wine Cooler Makes More Sense
A single-zone wine cooler earns its place when your collection follows one storage routine instead of several serving schedules.
One shared temperature keeps the cabinet easier to manage, reduces layout compromises, and suits households that mostly buy reds, mostly buy whites, or plan to hold bottles for later.
The main advantage is consistency. Rather than balancing two thermostats and deciding which bottles belong in each compartment, you choose one setting and use the available shelves efficiently.
That straightforward approach also helps when your collection changes gradually instead of arriving as an equal mix of wine styles.
Match the temperature to your collection
Single-zone storage works best when your preferred bottles overlap within one practical range. A cooler setting can favor whites and rosés, while a warmer cellar-style setting may better suit reds or mixed long-term storage.
| Priority | Typical range | Why a single zone fits |
| Cooler white and rosé storage | 45–50°F | One setting keeps similar bottles ready for chilling |
| General cellar-style holding | 50–55°F | Useful for collections held before serving |
| Warmer red-focused storage | 55–65°F | Supports a cabinet centered on red wine |
Capacity and installation can strengthen the case. A single cabinet does not divide its shelves between zones, so more of the advertised space remains usable for the bottle shapes you actually own.
This matters with Champagne, Pinot Noir, and tall Riesling bottles, which can reduce practical capacity.
| Planning factor | Typical range | What to check |
| Small cabinet width | 12–18 inches | Door swing and counter clearance |
| Mid-size cabinet width | 18–24 inches | Ventilation and shelf depth |
- Choose single-zone for one dominant wine style, simpler controls, or long-term holding.
- Choose another layout when reds and whites regularly need separate serving temperatures.
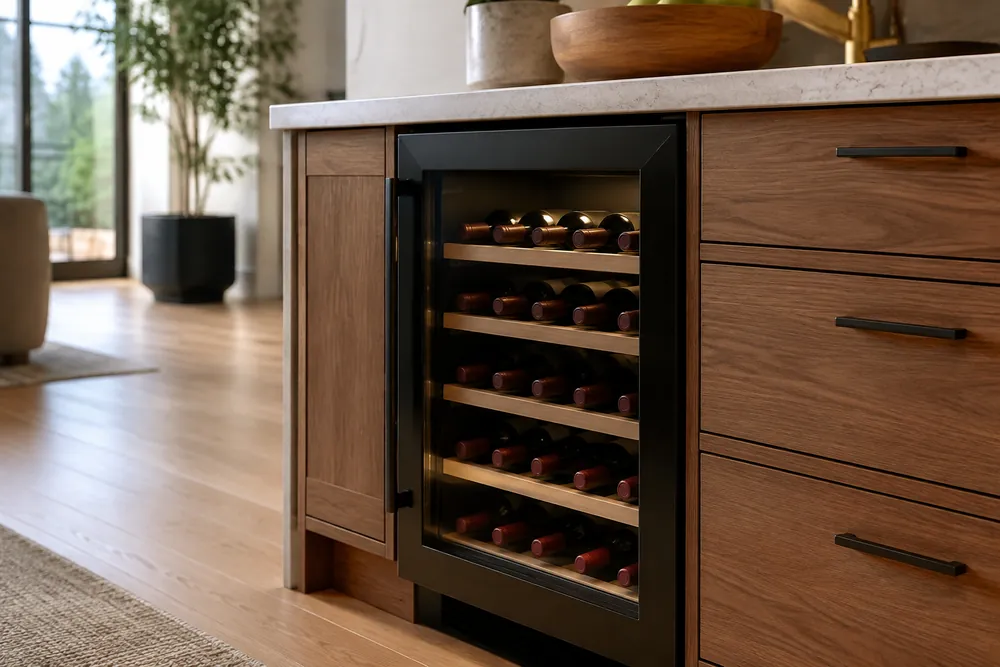
When a Dual-Zone Wine Cooler Is Worth It
A mixed collection of reds, whites, rosés, and sparkling bottles is the clearest reason to consider a dual-zone wine cooler.
Separate controls let each group stay closer to its preferred serving condition, reducing the compromise required by a single shared temperature.
This flexibility matters most when bottles are opened regularly rather than stored for long-term aging.
One zone can hold reds at a warmer setting while the other keeps whites and sparkling wines ready to pour without moving bottles into a household refrigerator.
| Wine group | Common target range | Why a separate zone helps |
| Reds | 55–65°F | Warmer serving range |
| Whites and rosés | 45–55°F | Cooler serving range |
| Sparkling wines | 38–48°F | Chilled presentation |
These ranges are practical planning guides, not universal rules.
The ideal setting varies by grape, style, and whether the bottle is being aged or served soon, so compare the cooler’s published zone range rather than assuming every dual-zone design offers the same separation.
Capacity and shelf layout can still make or break the purchase. A dual-zone cabinet may divide its usable storage unevenly, and larger bottles can occupy more room than standard Bordeaux-shaped bottles.
| Cooler size | Approximate advertised capacity | Best use |
| Compact | 12–30 bottles | Small mixed collection |
| Medium | 31–60 bottles | Regular red-and-white rotation |
| Large | 61–120 bottles | Broader collection with reserve bottles |
Choose dual-zone when independent serving temperatures will be used often enough to justify extra controls and potentially less flexible shelf space.
Otherwise, a single-zone cooler usually provides simpler operation and more consistent storage for one dominant wine style.
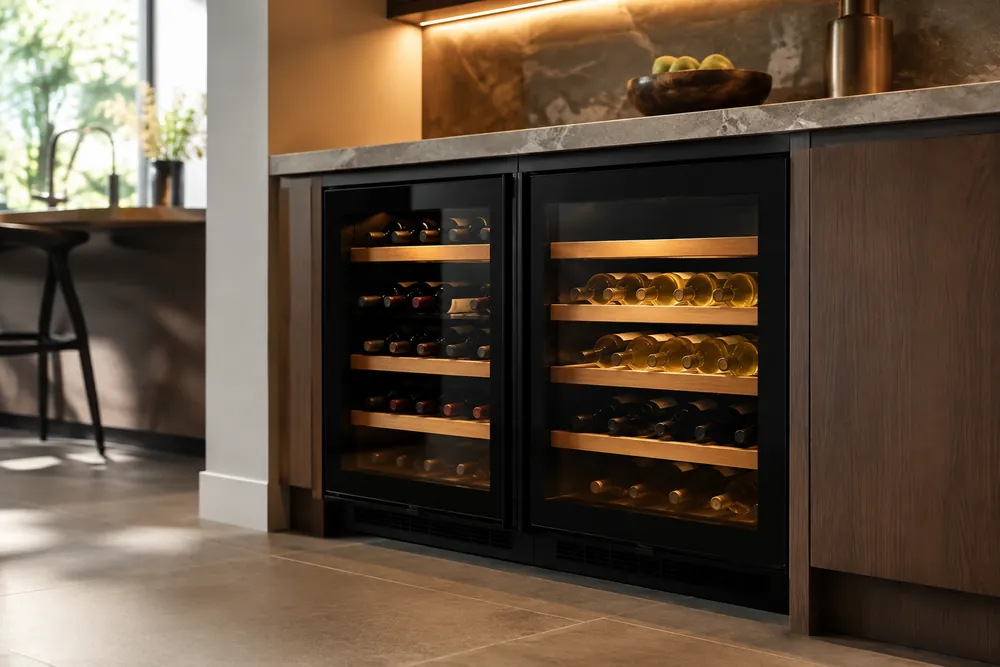
Bottle Mix, Serving Habits, and Space Planning
Bottle mix, serving habits, and available cabinet space should guide the choice between a single-zone and dual-zone wine cooler.
The best format is the one that keeps your regular bottles accessible without sacrificing usable shelf space or adding controls you will rarely adjust.
A single-zone cabinet suits collections built around one primary style, such as reds for gradual storage or whites kept at one consistent setting.
It also works well when bottles are stored for later rather than opened immediately, because stable conditions matter more than separate serving temperatures.
A dual-zone cabinet is more useful for households that open different wines throughout the week.
Reds can remain in a warmer section while whites, rosés, or sparkling bottles occupy a cooler section, reducing the need to move bottles into a refrigerator before serving.
| Planning factor | Common category range | Why it matters |
| Cellar-style storage temperature | 50–57°F | Useful for collections held at one steady setting |
| Cooler white or sparkling setting | 40–48°F | Supports bottles intended for nearer-term serving |
| Compact cooler capacity | 12–30 bottles | Fits smaller kitchens but leaves less room for unusual shapes |
| Mid-size cooler capacity | 30– sixty bottles | Provides more flexibility, though shelves may be divided between zones |
Capacity claims need careful interpretation. Published counts commonly assume narrow Bordeaux-style bottles, while Champagne, Pinot Noir, and tall Riesling bottles can occupy more shelf width and reduce the practical total.
Dual-zone layouts may divide storage unevenly, leaving one section better for everyday bottles and the other better for reserve wine.
Check shelf spacing, removable racks, door swing, and the clearance around the cabinet before treating the headline capacity as usable space.
Match the cooler to your routine
- Choose single-zone storage for one dominant wine style, simpler controls, or longer holding periods.
- Choose dual-zone storage for mixed bottles that are regularly served at different temperatures.
- Measure the opening, nearby counter space, and ventilation area before choosing a built-in or freestanding design.
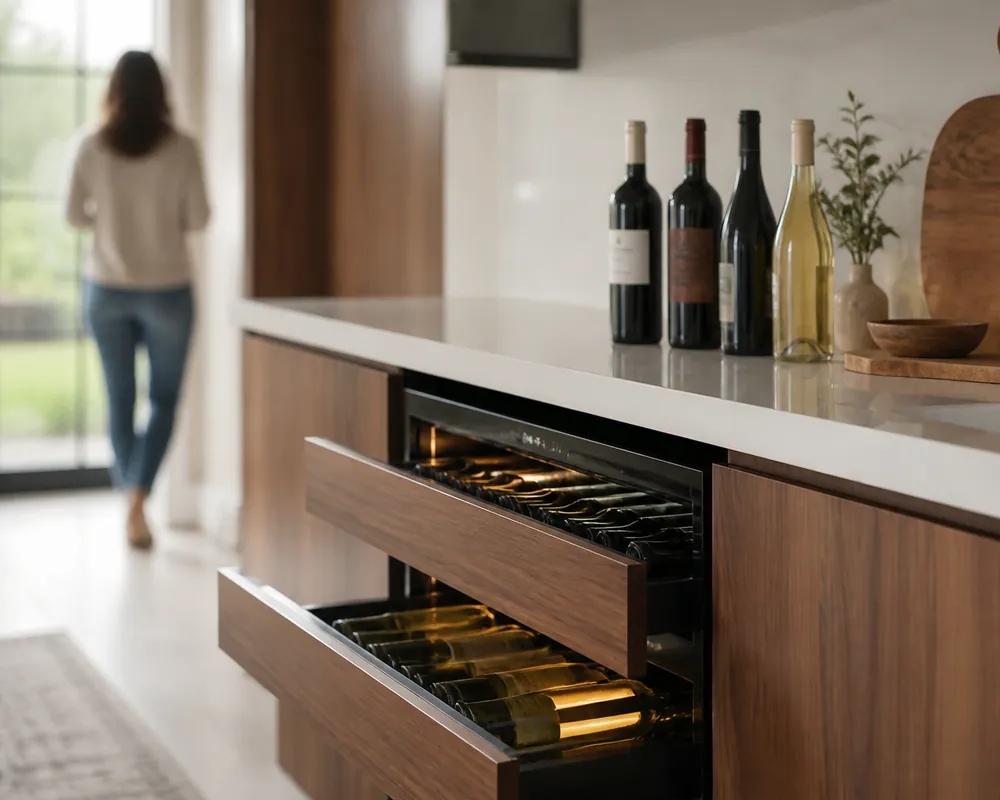
Installation, Noise, and Energy Considerations
Installation affects airflow, sound, and operating cost as much as temperature control.
A single-zone cooler usually offers simpler placement, while a dual-zone unit may need more careful clearance because separate compartments and controls can increase cabinet complexity.
Measure the opening, door swing, shelf depth, and nearby heat sources before ordering. Freestanding units need ventilation around the cabinet, while built-in models must match the specified opening and front-venting design.
| Consideration | Typical category range | Why it matters |
| Cabinet opening width | About 15–24 inches | Determines whether the cooler fits the intended space |
| Rear or side clearance | About 1–3 inches | Allows heat to escape on designs that require ventilation |
| Typical capacity band | About 20–50 bottles | Helps compare usable storage rather than headline capacity |
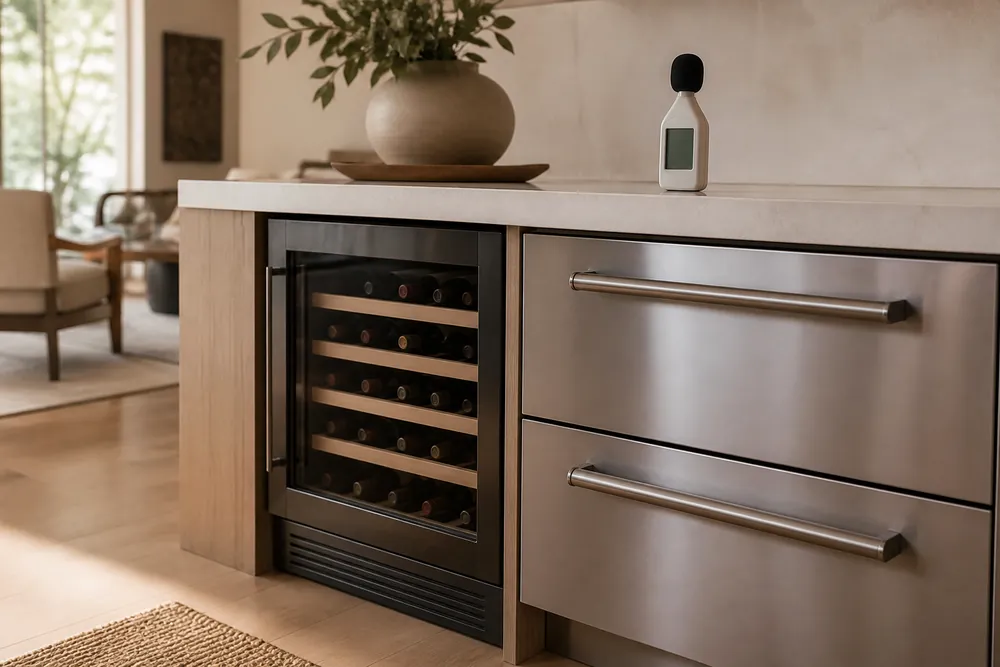
Noise deserves attention in open-plan kitchens, dining areas, and home bars. Compressor cycling, fans, and vibration can all be noticeable, especially when the unit sits beside seating.
Dual-zone coolers may run more frequently because each compartment manages its own temperature.
Energy use varies with cabinet size, insulation, room temperature, ventilation, and temperature settings. Cooler settings, frequent door opening, and a poorly ventilated installation generally demand more work from the compressor.
| Use case | Common range | Practical implication |
| Cellar-style storage | About 50–57°F | Favors stable, long-term holding |
| White or sparkling service | About 40–48°F | Supports cooler ready-to-pour bottles |
- Check the installation diagram, vent location, noise documentation, and energy label before buying.
- Choose single-zone for simpler placement; choose dual-zone when serving flexibility justifies added complexity.
can make the difference more noticeable. Choose a location with space around the required ventilation points, and avoid placing the cooler beside an oven, radiator, or sunny window.
A warmer surrounding area can make the compressor work harder and may raise operating costs.
Start with the opening rather than the bottle count. Measure width at the top, middle, and bottom, because trim, baseboards, or uneven walls can reduce the usable space.
Record the narrowest measurement and compare it with the manufacturer’s installation requirements.
Measure depth from the wall to the front edge of the surrounding cabinet, then account for the door and handle. A cooler that fits inside the opening may still block a walkway when opened.
Leave enough room for the door to swing fully and for shelves or racks to extend.
Check the floor as well as the cabinet. A slightly uneven surface can make the door sit poorly, create vibration, or prevent racks from sliding smoothly.
If the unit has adjustable feet, confirm that leveling will not reduce the available clearance below the required amount.
Locate the electrical outlet before choosing between nearby spaces. The plug and cord need room without being crushed behind the cabinet, and an outlet positioned directly where the cooler vents may complicate installation.
Avoid relying on an extension cord unless the instructions specifically allow it.
For a kitchen next to a dining area, compare the cooler’s published noise information with the sounds you tolerate at home. Ratings are useful for comparison, but cabinet surfaces and hard floors can amplify vibration.
A stable, level installation can help prevent avoidable rattling.
Think about access during normal use, not only installation day. If the cooler sits under a counter, check whether the door opens toward the more convenient side and whether nearby drawers, appliances, or walls interfere.
Reversibility depends on the model, so verify it before ordering.
Energy considerations also favor the least demanding location. Keep the cooler away from direct sunlight and heat-producing appliances, and avoid a cramped space that restricts airflow.
A setting that requires frequent temperature correction may reduce the practical efficiency advantage of either configuration.
A single-zone cooler is often easier to place when the available opening is tight and the serving routine is simple.
A dual-zone model can justify its additional installation demands when separate storage temperatures matter enough to use both compartments regularly.
Before buying, photograph the intended location, note every measurement, and compare them with the installation diagram rather than the exterior dimensions alone.
That check reveals conflicts early and helps determine whether the better choice is a simpler single-zone unit or a more demanding dual-zone setup.
What Long-Term Owners Say
Owner reports tend to agree on one recurring complaint: wine coolers can become noisier than expected, especially when the compressor and fans cycle frequently.
Manufacturer documentation and warranty terms suggest that ventilation, ambient temperature, and correct leveling strongly affect how smoothly these appliances operate over time.
What holds up best is usually the basic cabinet and shelving.
Buyers commonly praise stable temperatures, solid door seals, and shelves that glide without binding, while complaints often involve control panels, interior lights, fans, and thermoelectric cooling components failing before the cabinet itself.
| Category | Typical range | What it means |
| Storage temperature | 45–65°F | Suitable for general cellar-style holding |
| Serving-oriented zone | 40–55°F | More useful for whites and sparkling wines |
| Compact capacity band | 12–30 bottles | Fits smaller collections but limits large formats |
| Mid-size capacity band | 30–60 bottles | Offers more flexibility with shelf planning |
Long-term owners also mention that advertised capacity rarely matches real storage.
Manufacturer capacity claims generally assume standard Bordeaux bottles, so Champagne, Pinot Noir, and tall Riesling bottles can reduce usable space or require removing shelves.
Dual-zone models receive praise for serving convenience, but owners report more layout compromises and more control-related troubleshooting.
A single-zone cooler usually earns better feedback for straightforward operation and consistent storage, provided the collection does not require separate temperatures.
- Check the warranty: coverage for electronics and cooling components matters more than cosmetic protection.
- Protect airflow: follow the manufacturer’s clearance instructions and keep condenser areas clean.
- Prioritize shelf flexibility: usable spacing matters more than the headline bottle count.
Dual-zone models receive praise for serving convenience, but owners often describe the second temperature compartment as a tradeoff in usable space.
Separate controls and dividers can make the interior less forgiving, particularly when a collection includes wide bottles or mixed shapes.
For a buyer measuring a kitchen, cabinet width is only the starting point.
Measure the cooler’s full height and depth, then account for baseboards, countertop overhangs, nearby handles, and the space needed to open the door without striking an island or adjacent appliance.
Check the manufacturer’s required ventilation clearances before assuming a tight opening will work.
A cooler that fits between cabinets may still run poorly if warm air cannot escape, so the surrounding gap matters as much as the appliance’s listed dimensions.
Door swing deserves a separate check. Hinges may limit which side can open toward a wall, while a reversible door may require extra installation work.
Leave enough room to pull shelves out fully, because a door that opens only partway can make rear bottles difficult to reach.
Use a tape measure on the bottles you actually own rather than relying on the stated bottle count. Measure the widest and tallest examples, including sparkling-wine bottles, and mark shelf positions on paper.
This reveals whether the advertised layout matches your collection.
Placement also affects how noticeable operating noise becomes.
A cooler beside seating, a work-from-home area, or a quiet dining space may draw more attention than one installed farther from living areas, even when both locations meet ventilation requirements.
For a smaller collection, the simpler layout may preserve more practical storage and reduce planning around two temperature settings.
A dual-zone design makes more sense when separate serving temperatures matter often enough to justify divided space, tighter loading, and a more demanding installation.
Before ordering, measure the delivery route as well as the final location. Doorways, stair turns, elevator openings, and packaging can create a problem before the cooler reaches the kitchen.
Confirm the return policy too, since fit and bottle compatibility are difficult to judge from specifications alone.
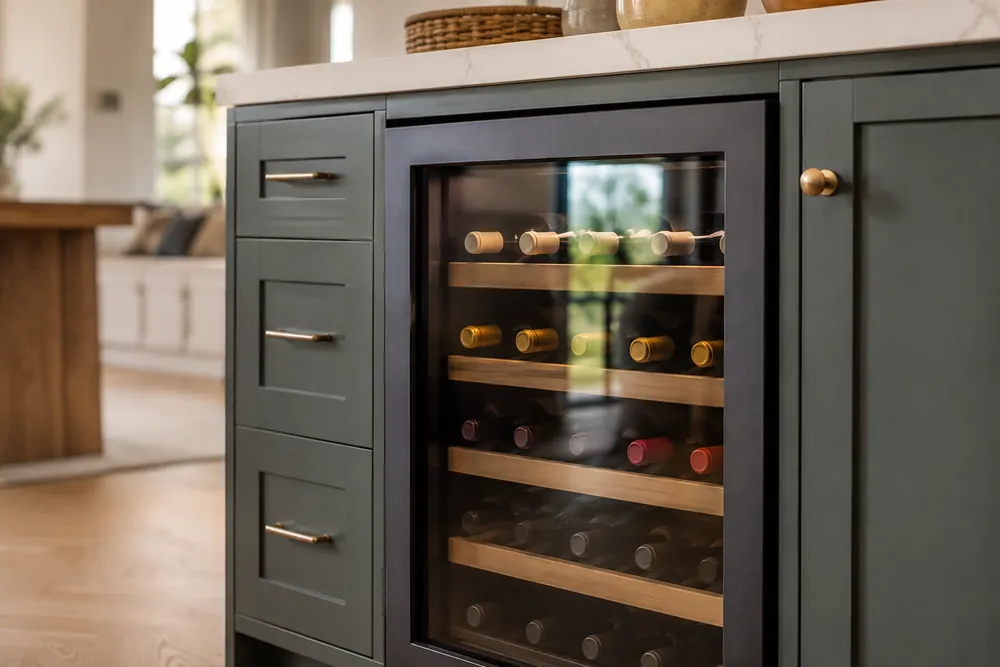
Questions the Spec Sheet Leaves Open
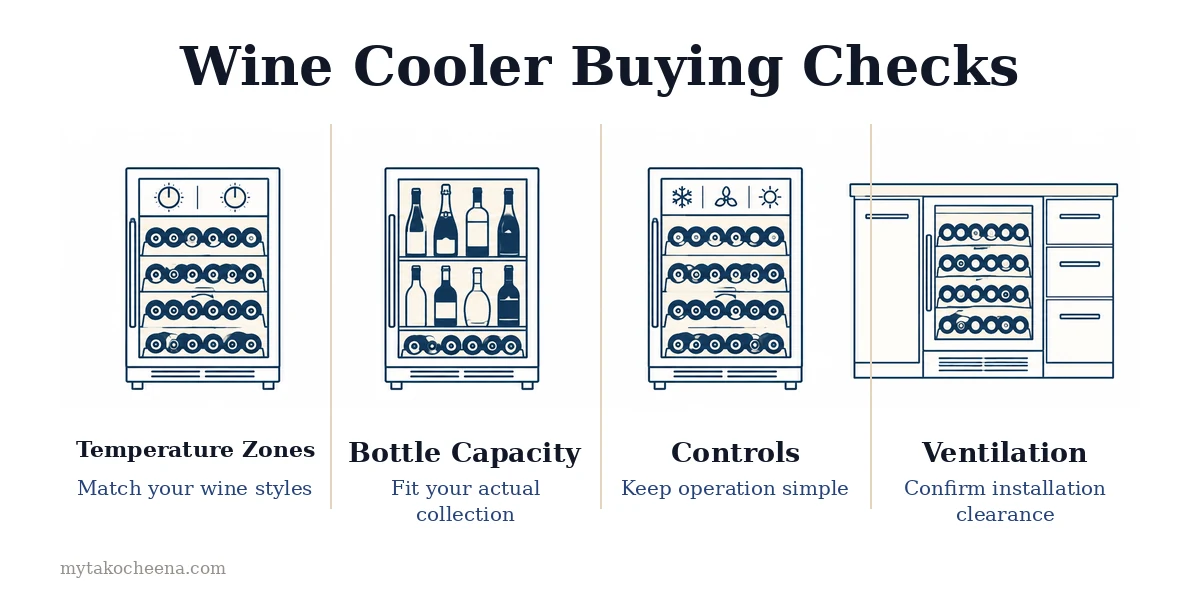
Published specifications explain temperature controls, bottle capacity, and installation requirements, but they do not decide which layout suits your collection.
These questions expose the practical trade-offs that capacity charts and feature lists often leave unclear.
Is a single-zone wine cooler better for long-term storage?
A single-zone cooler suits buyers who store mostly one wine style or want every bottle held at one consistent setting. Fewer controls also mean less adjustment and simpler shelf planning.
Check the stated operating range rather than assuming every single-zone unit is designed for identical cellar conditions. A cooler setting may suit short-term white-wine storage but may be less appropriate for extended holding.
Do dual-zone wine coolers keep red and white wine at different temperatures?
Yes. Dual-zone cabinets let you set separate areas, commonly keeping whites and sparkling wines cooler while holding reds at a warmer serving range.
The useful question is whether you will use both settings regularly. A second zone adds flexibility, but it can reduce the space available for one large group of bottles.
What temperature range should a wine cooler have?
Category specifications commonly cover overlapping storage and serving temperatures, but the exact range varies by compressor, controls, and cabinet design. Compare the minimum and maximum settings before choosing by zone count.
| Use case | Typical category range |
| Cellar-style storage | 45–59°F |
| White or sparkling serving | 39–50°F |
| Red serving | 55–65°F |
Does dual-zone storage reduce usable bottle capacity?
It can. Dividers, separate airflow paths, and different shelf layouts may leave one compartment narrower than the other, even when the advertised total capacity looks competitive.
Capacity claims often assume standard Bordeaux-style bottles. Champagne, Pinot Noir, and tall Riesling bottles can occupy more shelf space and make a nominally full cabinet difficult to load.
How much space does a built-in wine cooler need?
Installation dimensions matter as much as bottle capacity. A freestanding unit may need ventilation around the cabinet, while a front-venting built-in design still requires the specified opening and door clearance.
| Planning item | Typical category range |
| Compact cabinet width | 15–18 inches |
| Fuller under-counter width | 23–24 inches |
| Door or handle clearance | 2–4 inches |
Are dual-zone wine coolers harder to operate?
Dual-zone models usually add independent controls, displays, and temperature alarms. That is useful for mixed collections, but it creates more settings to monitor and more ways for shelf placement to affect performance.
Choose the simpler interface if other household members will use the cooler or if you prefer set-and-forget storage.
Should I choose single-zone or dual-zone for a small kitchen?
Choose single-zone when cabinet space is limited and your collection follows one storage pattern. Choose dual-zone when separate serving temperatures justify dividing the available shelves.
- Single-zone: simpler controls, consistent storage, and easier capacity planning.
- Dual-zone: mixed-wine flexibility, but more layout constraints and higher control complexity.